Introduction
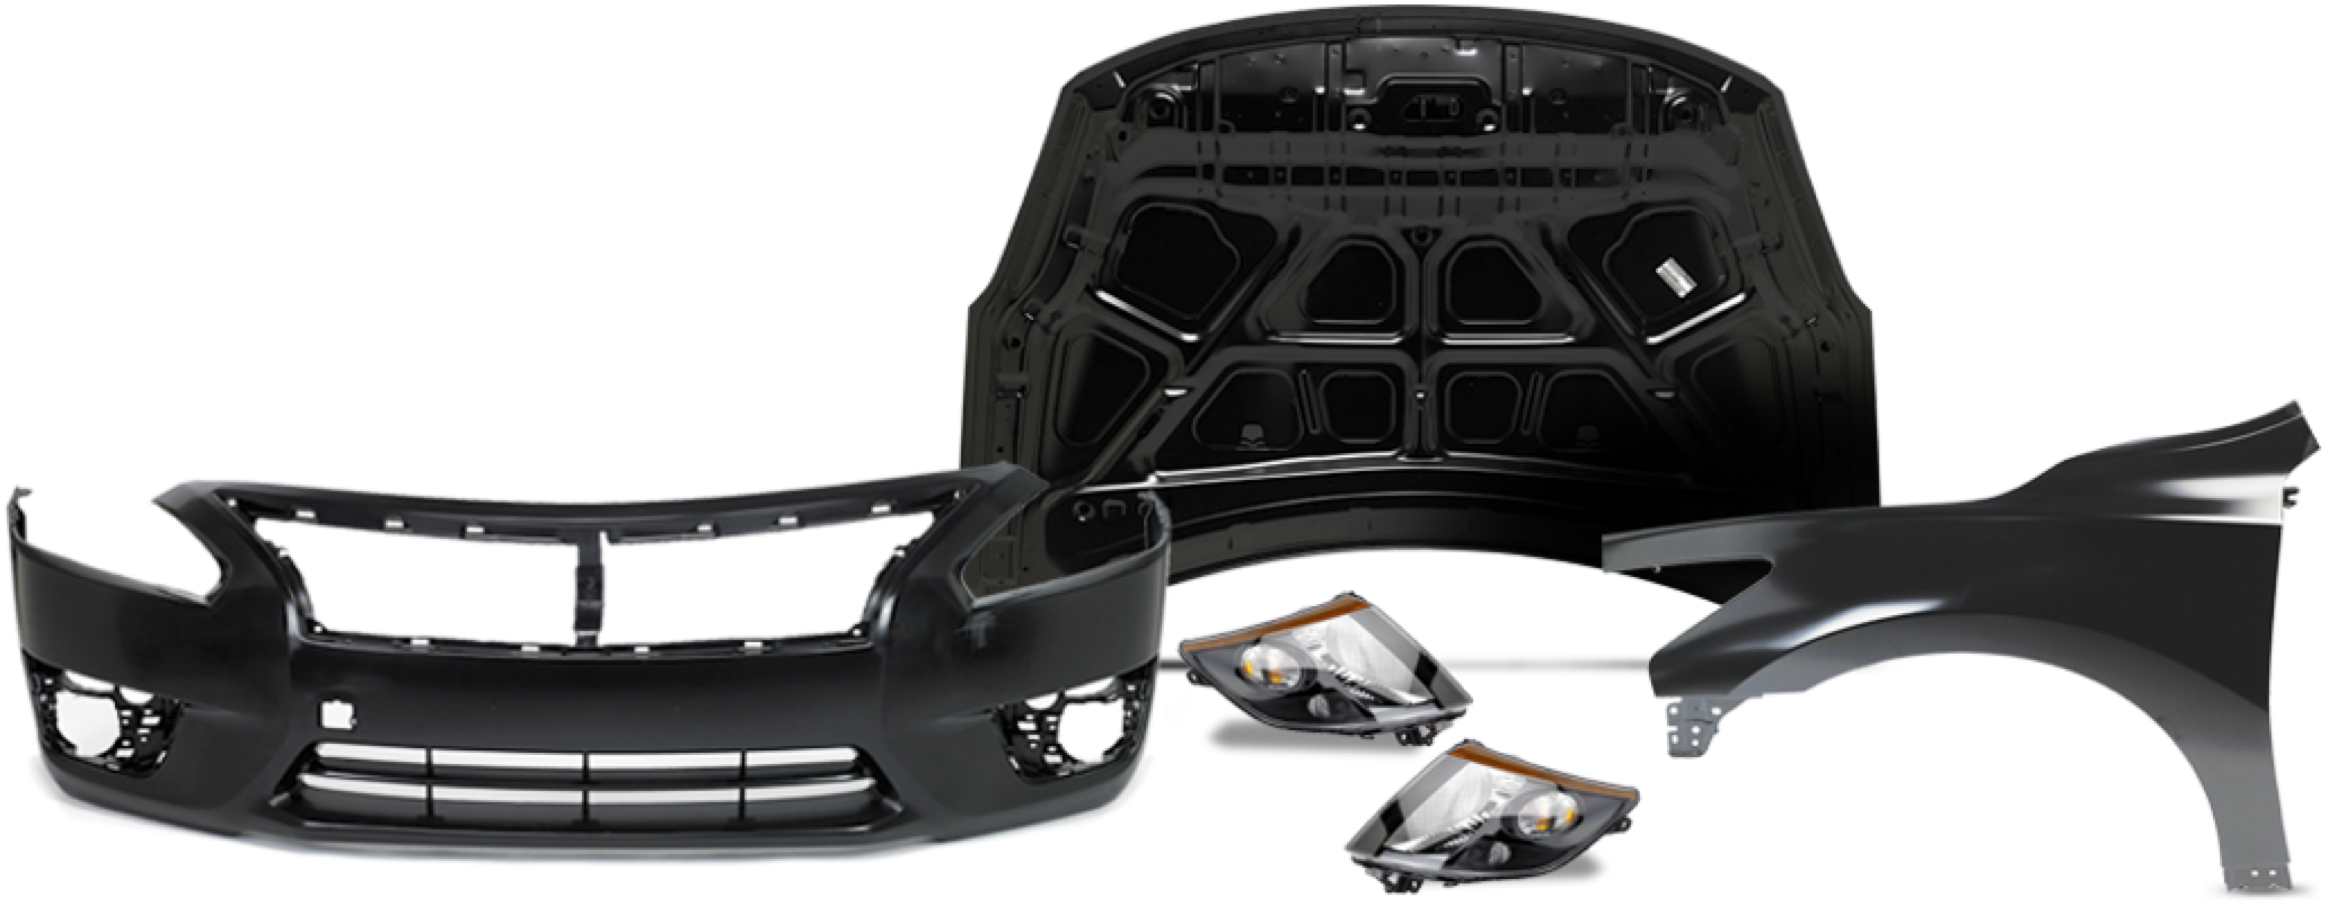
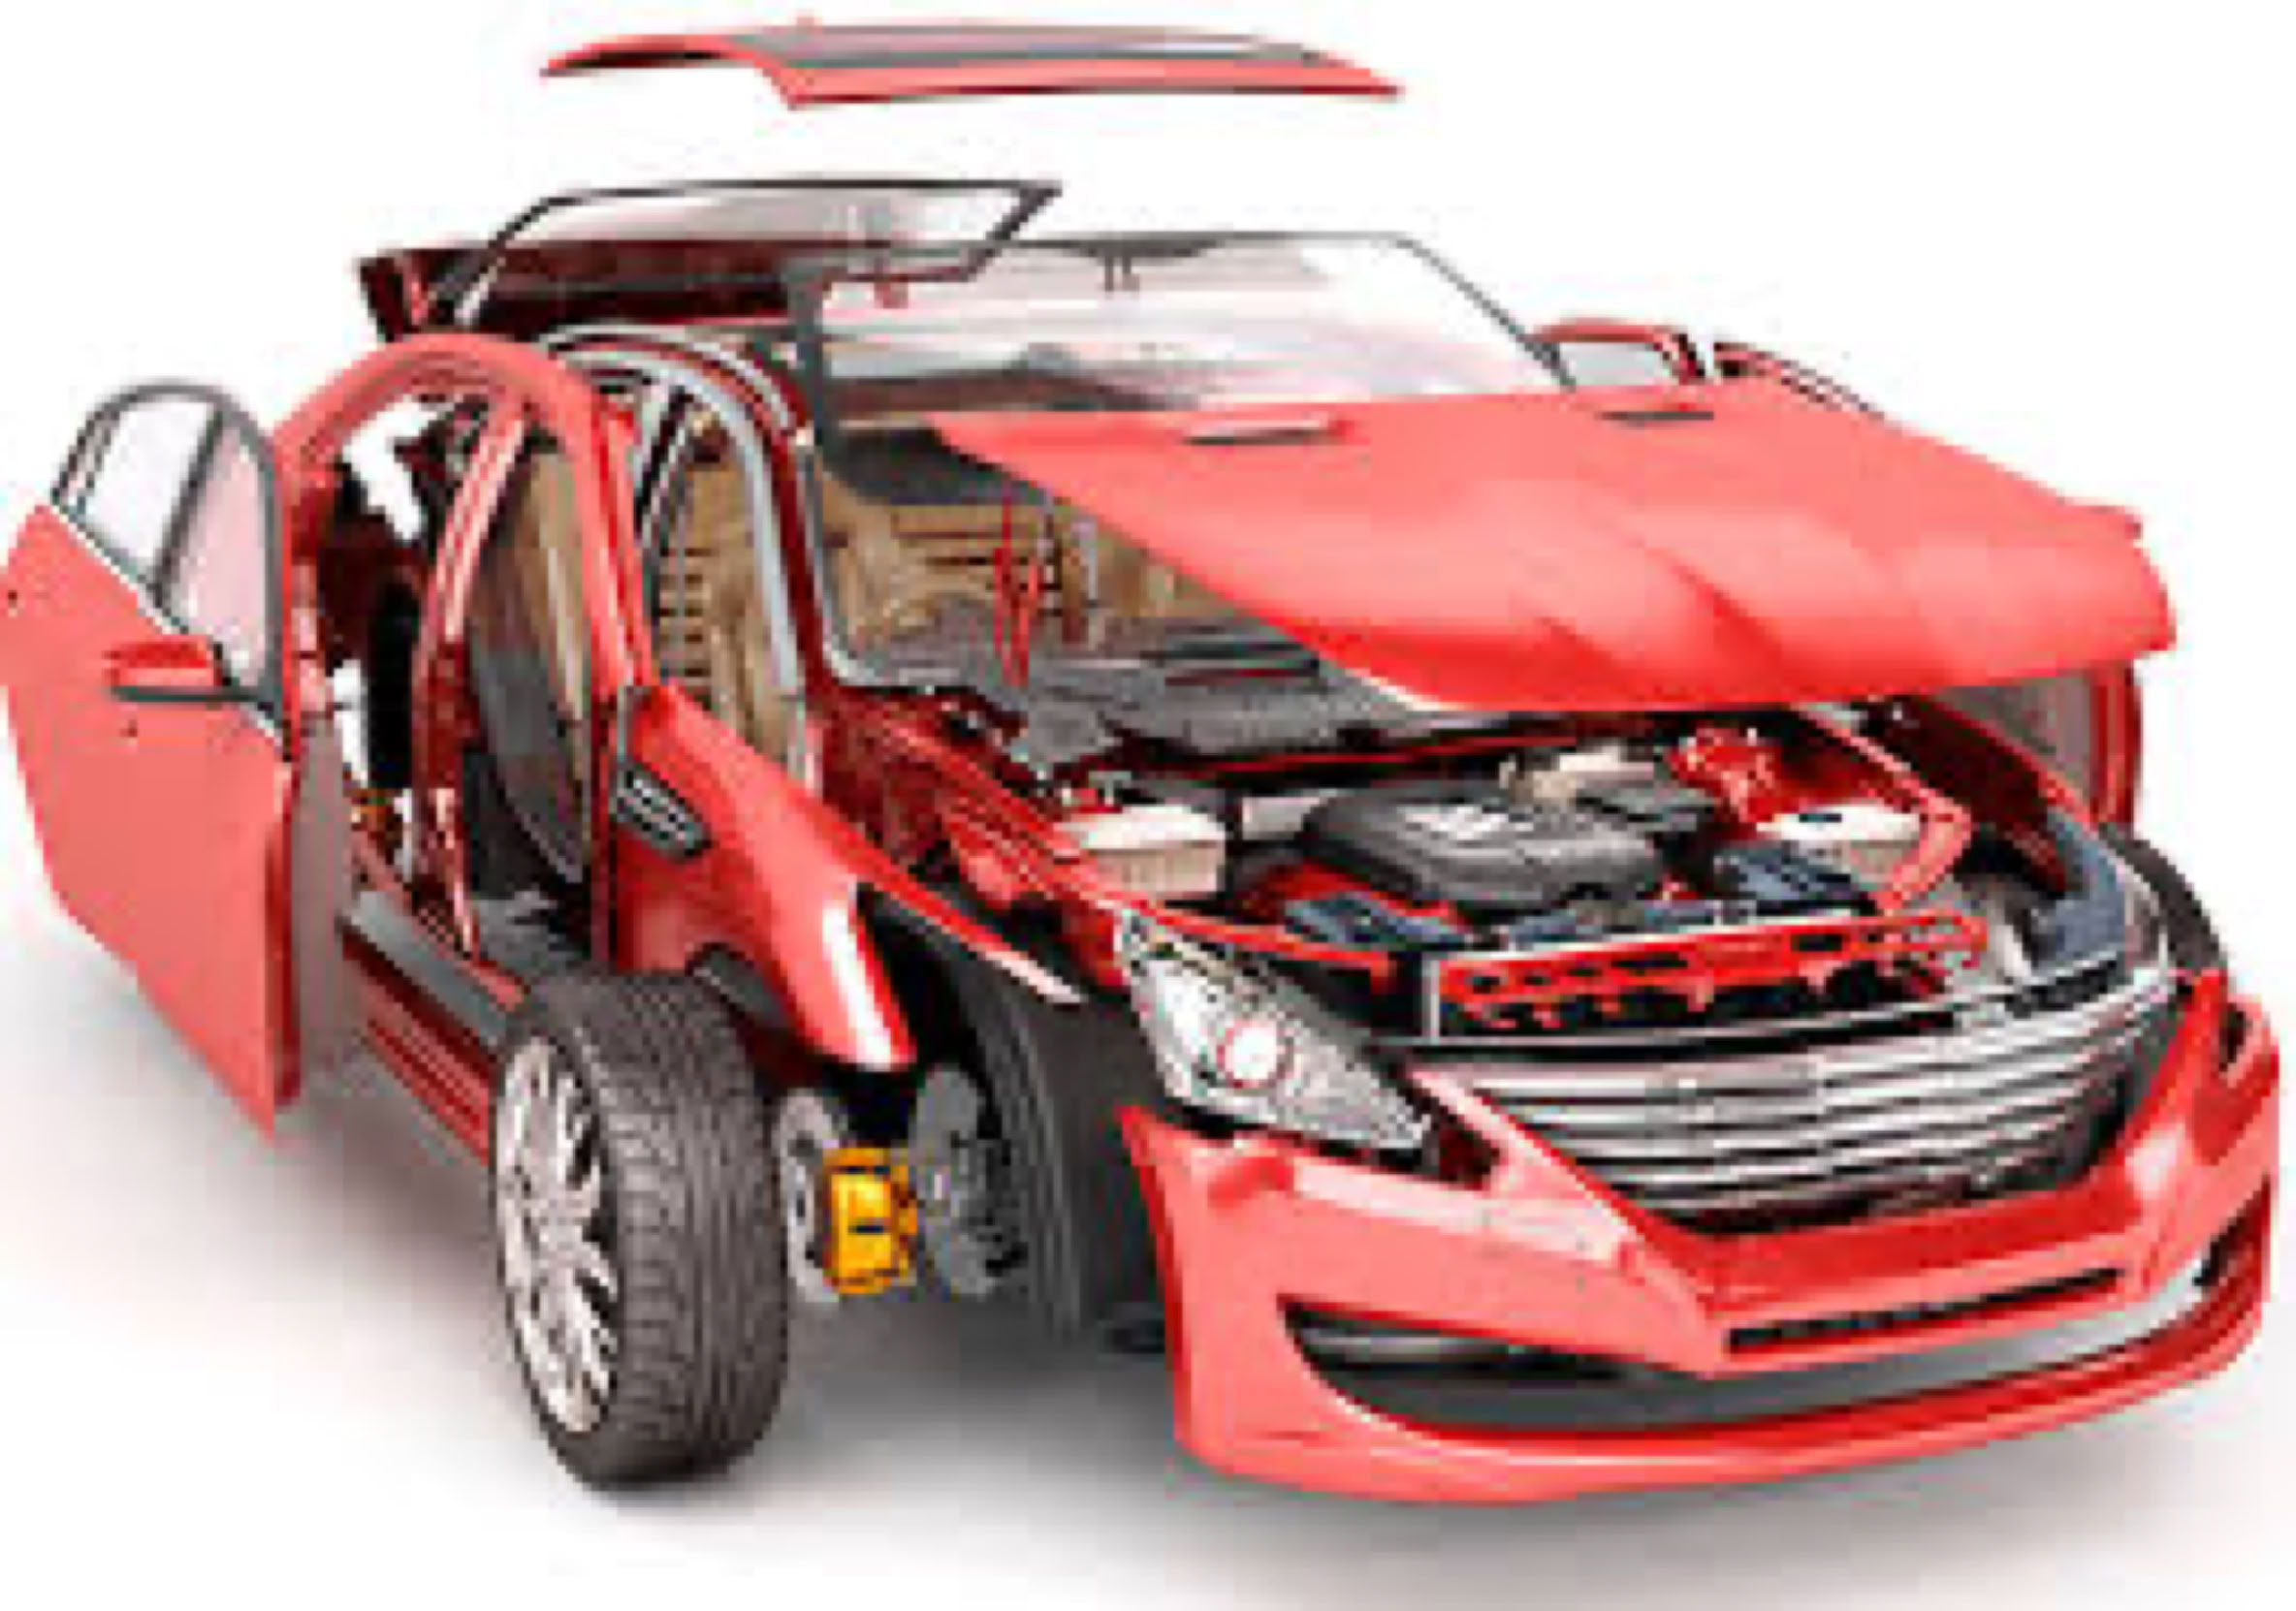
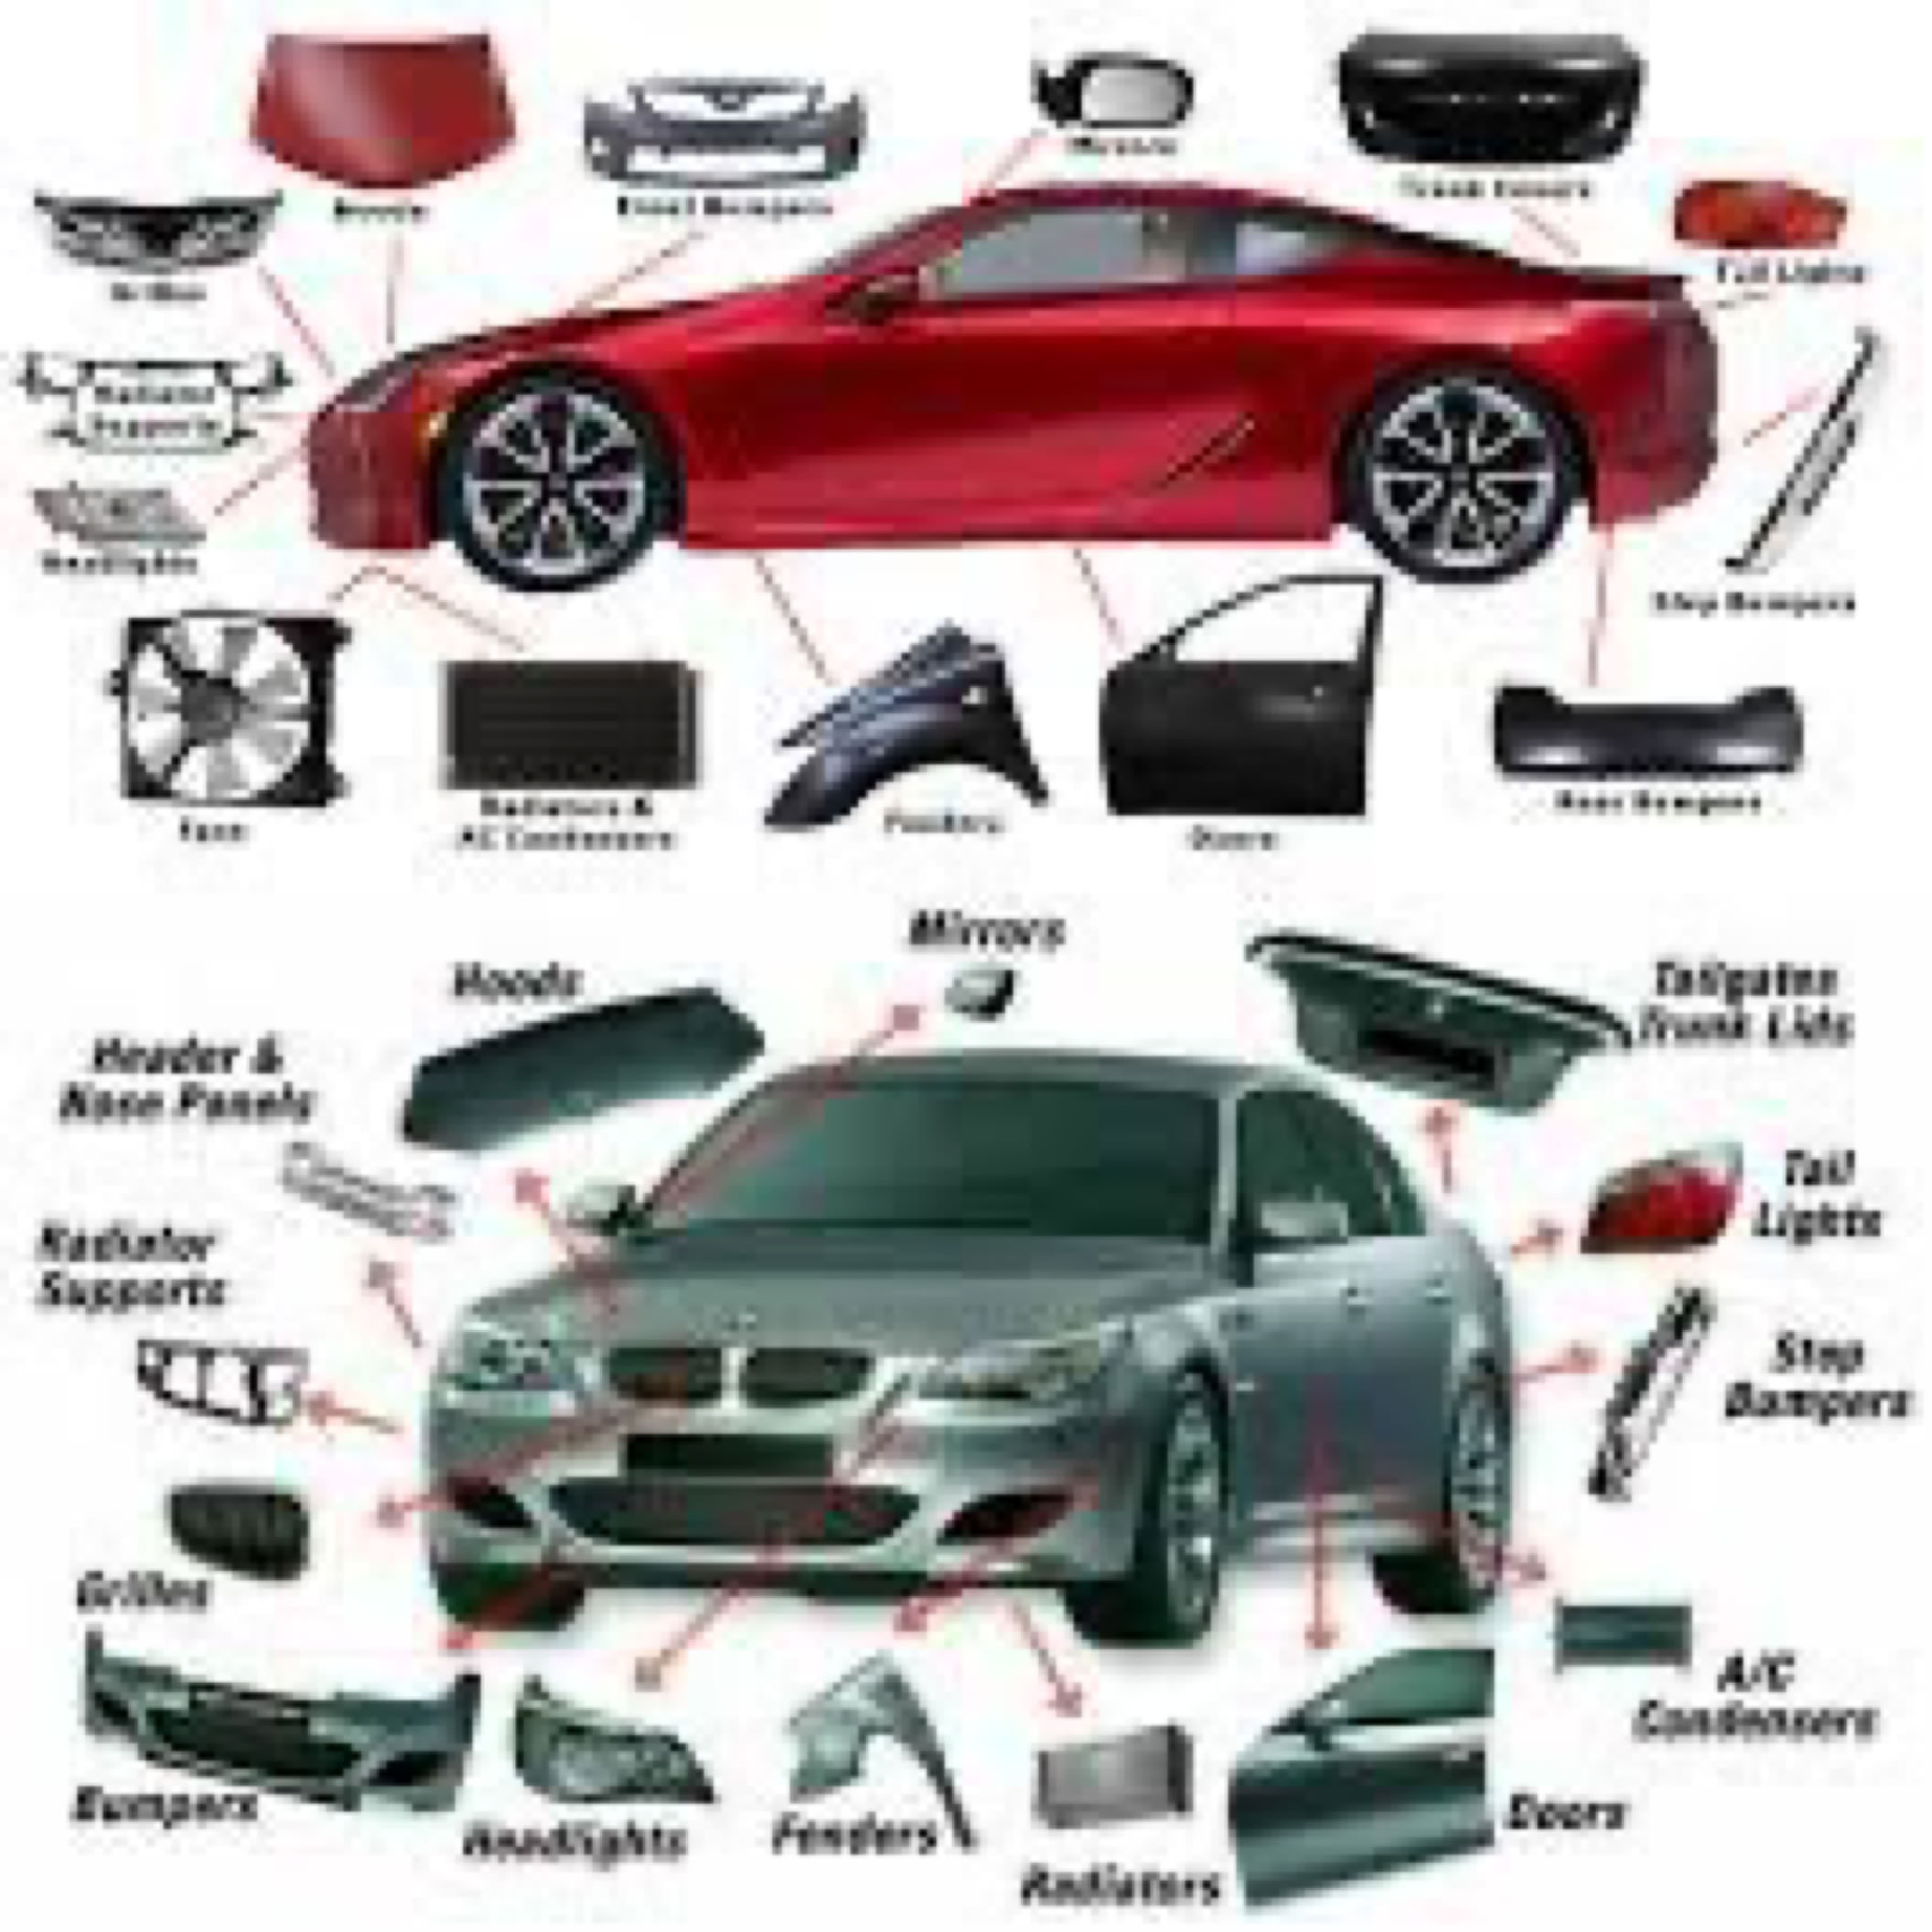
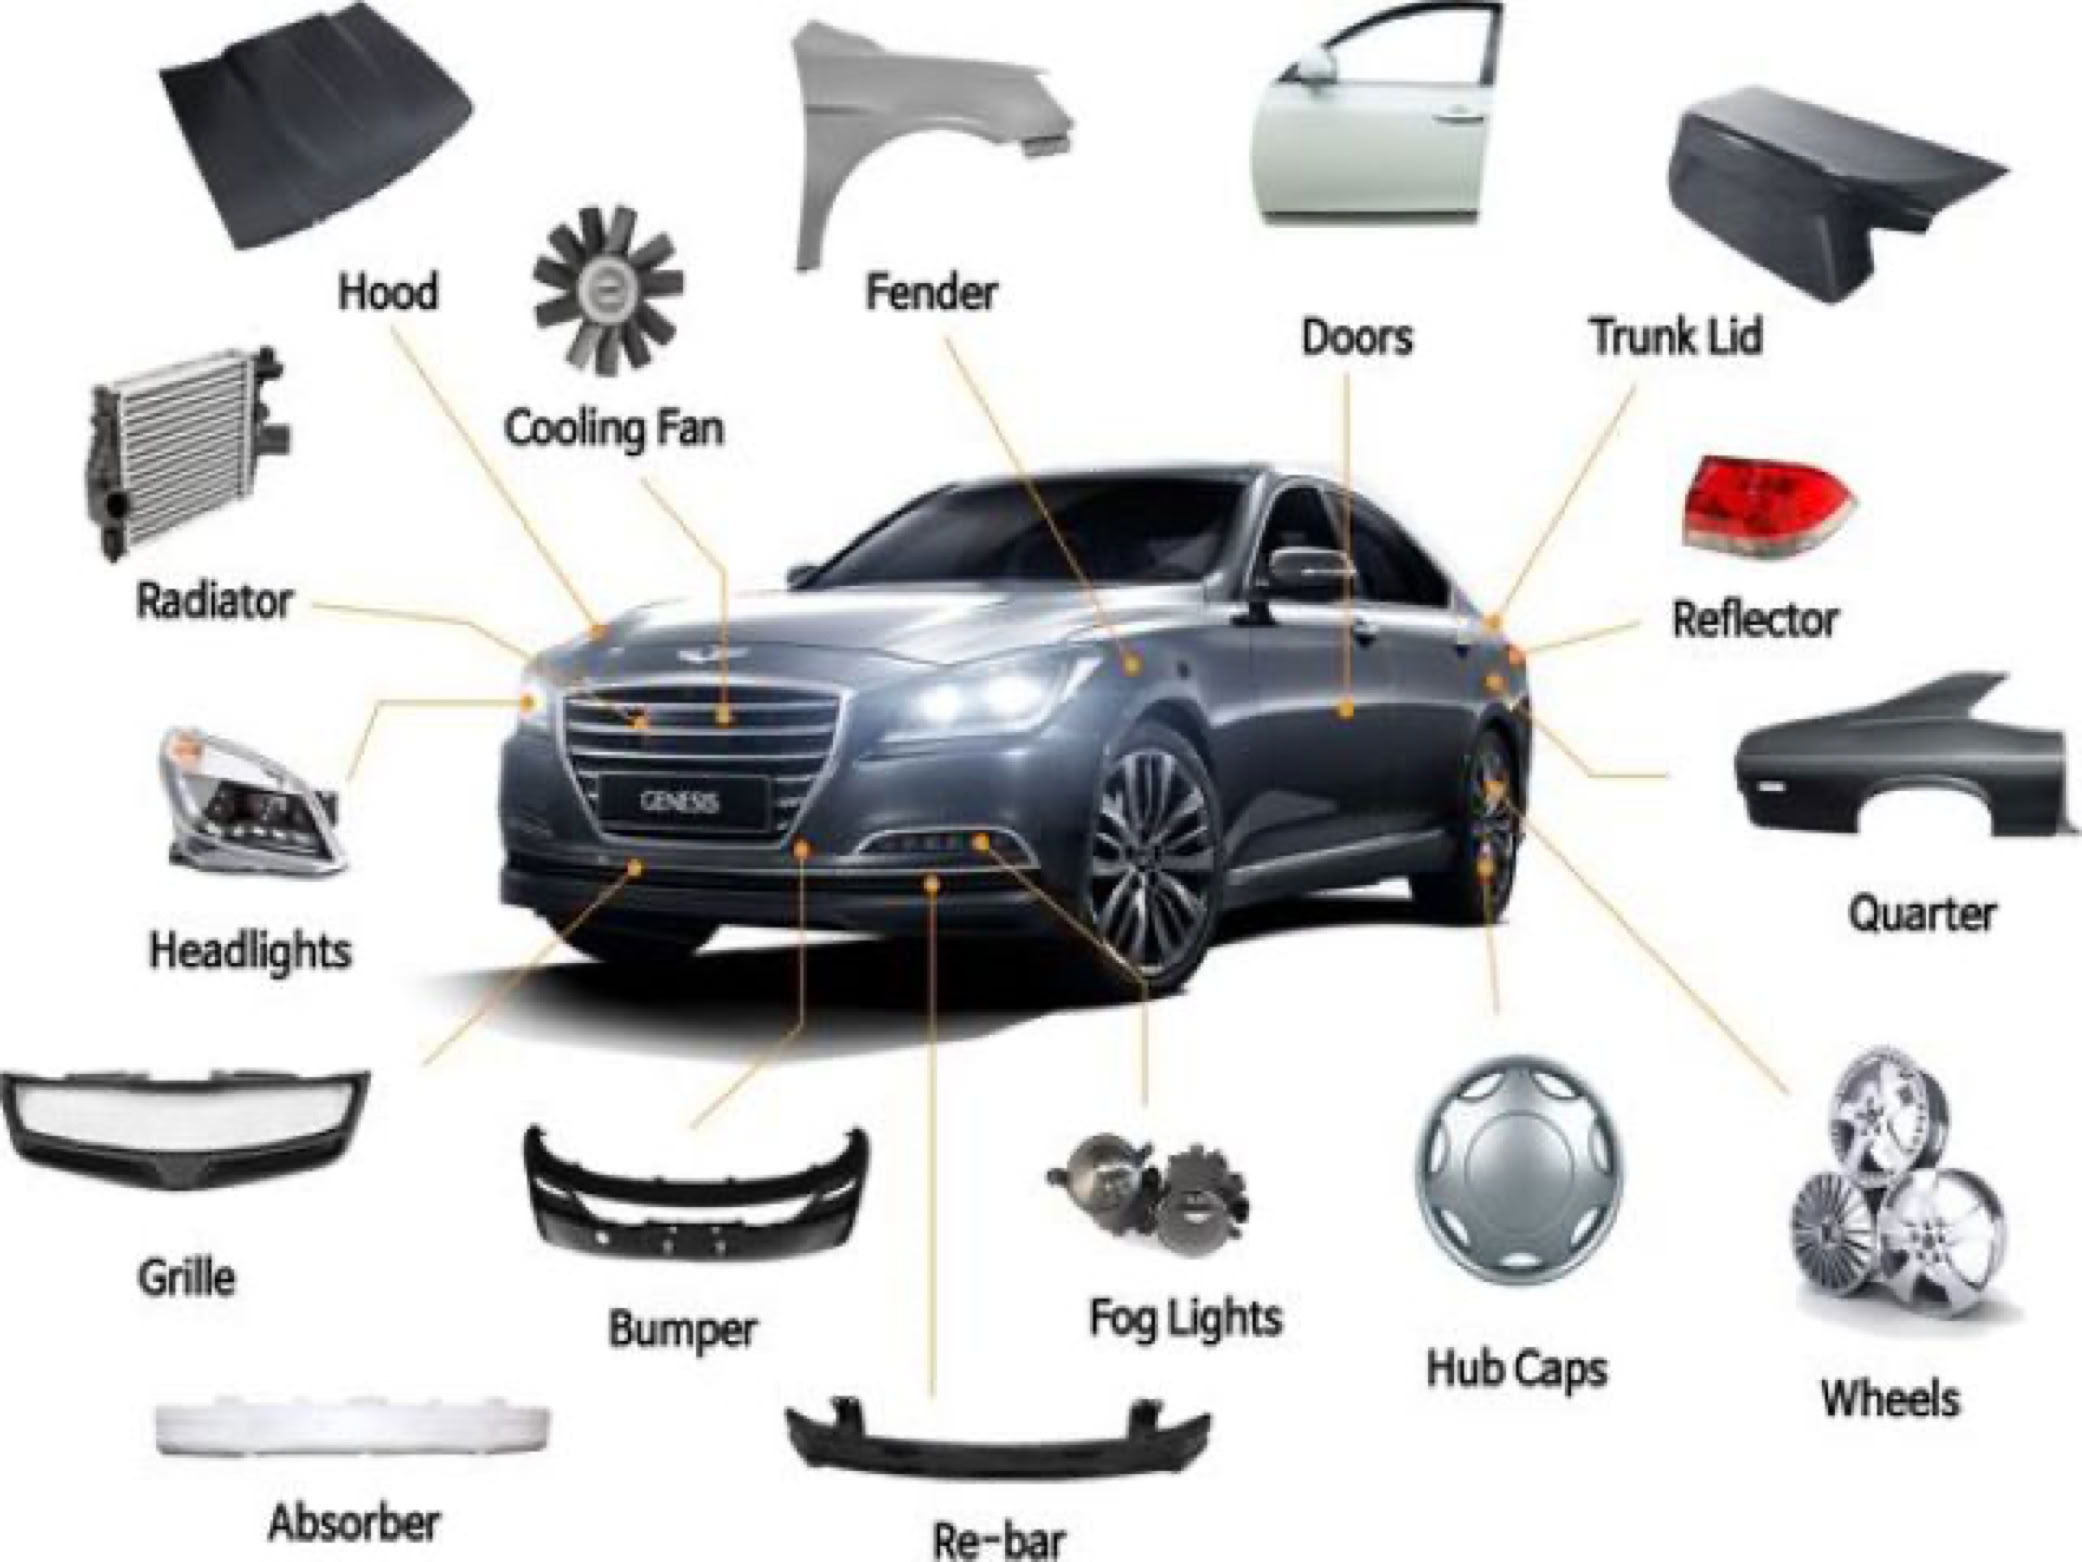
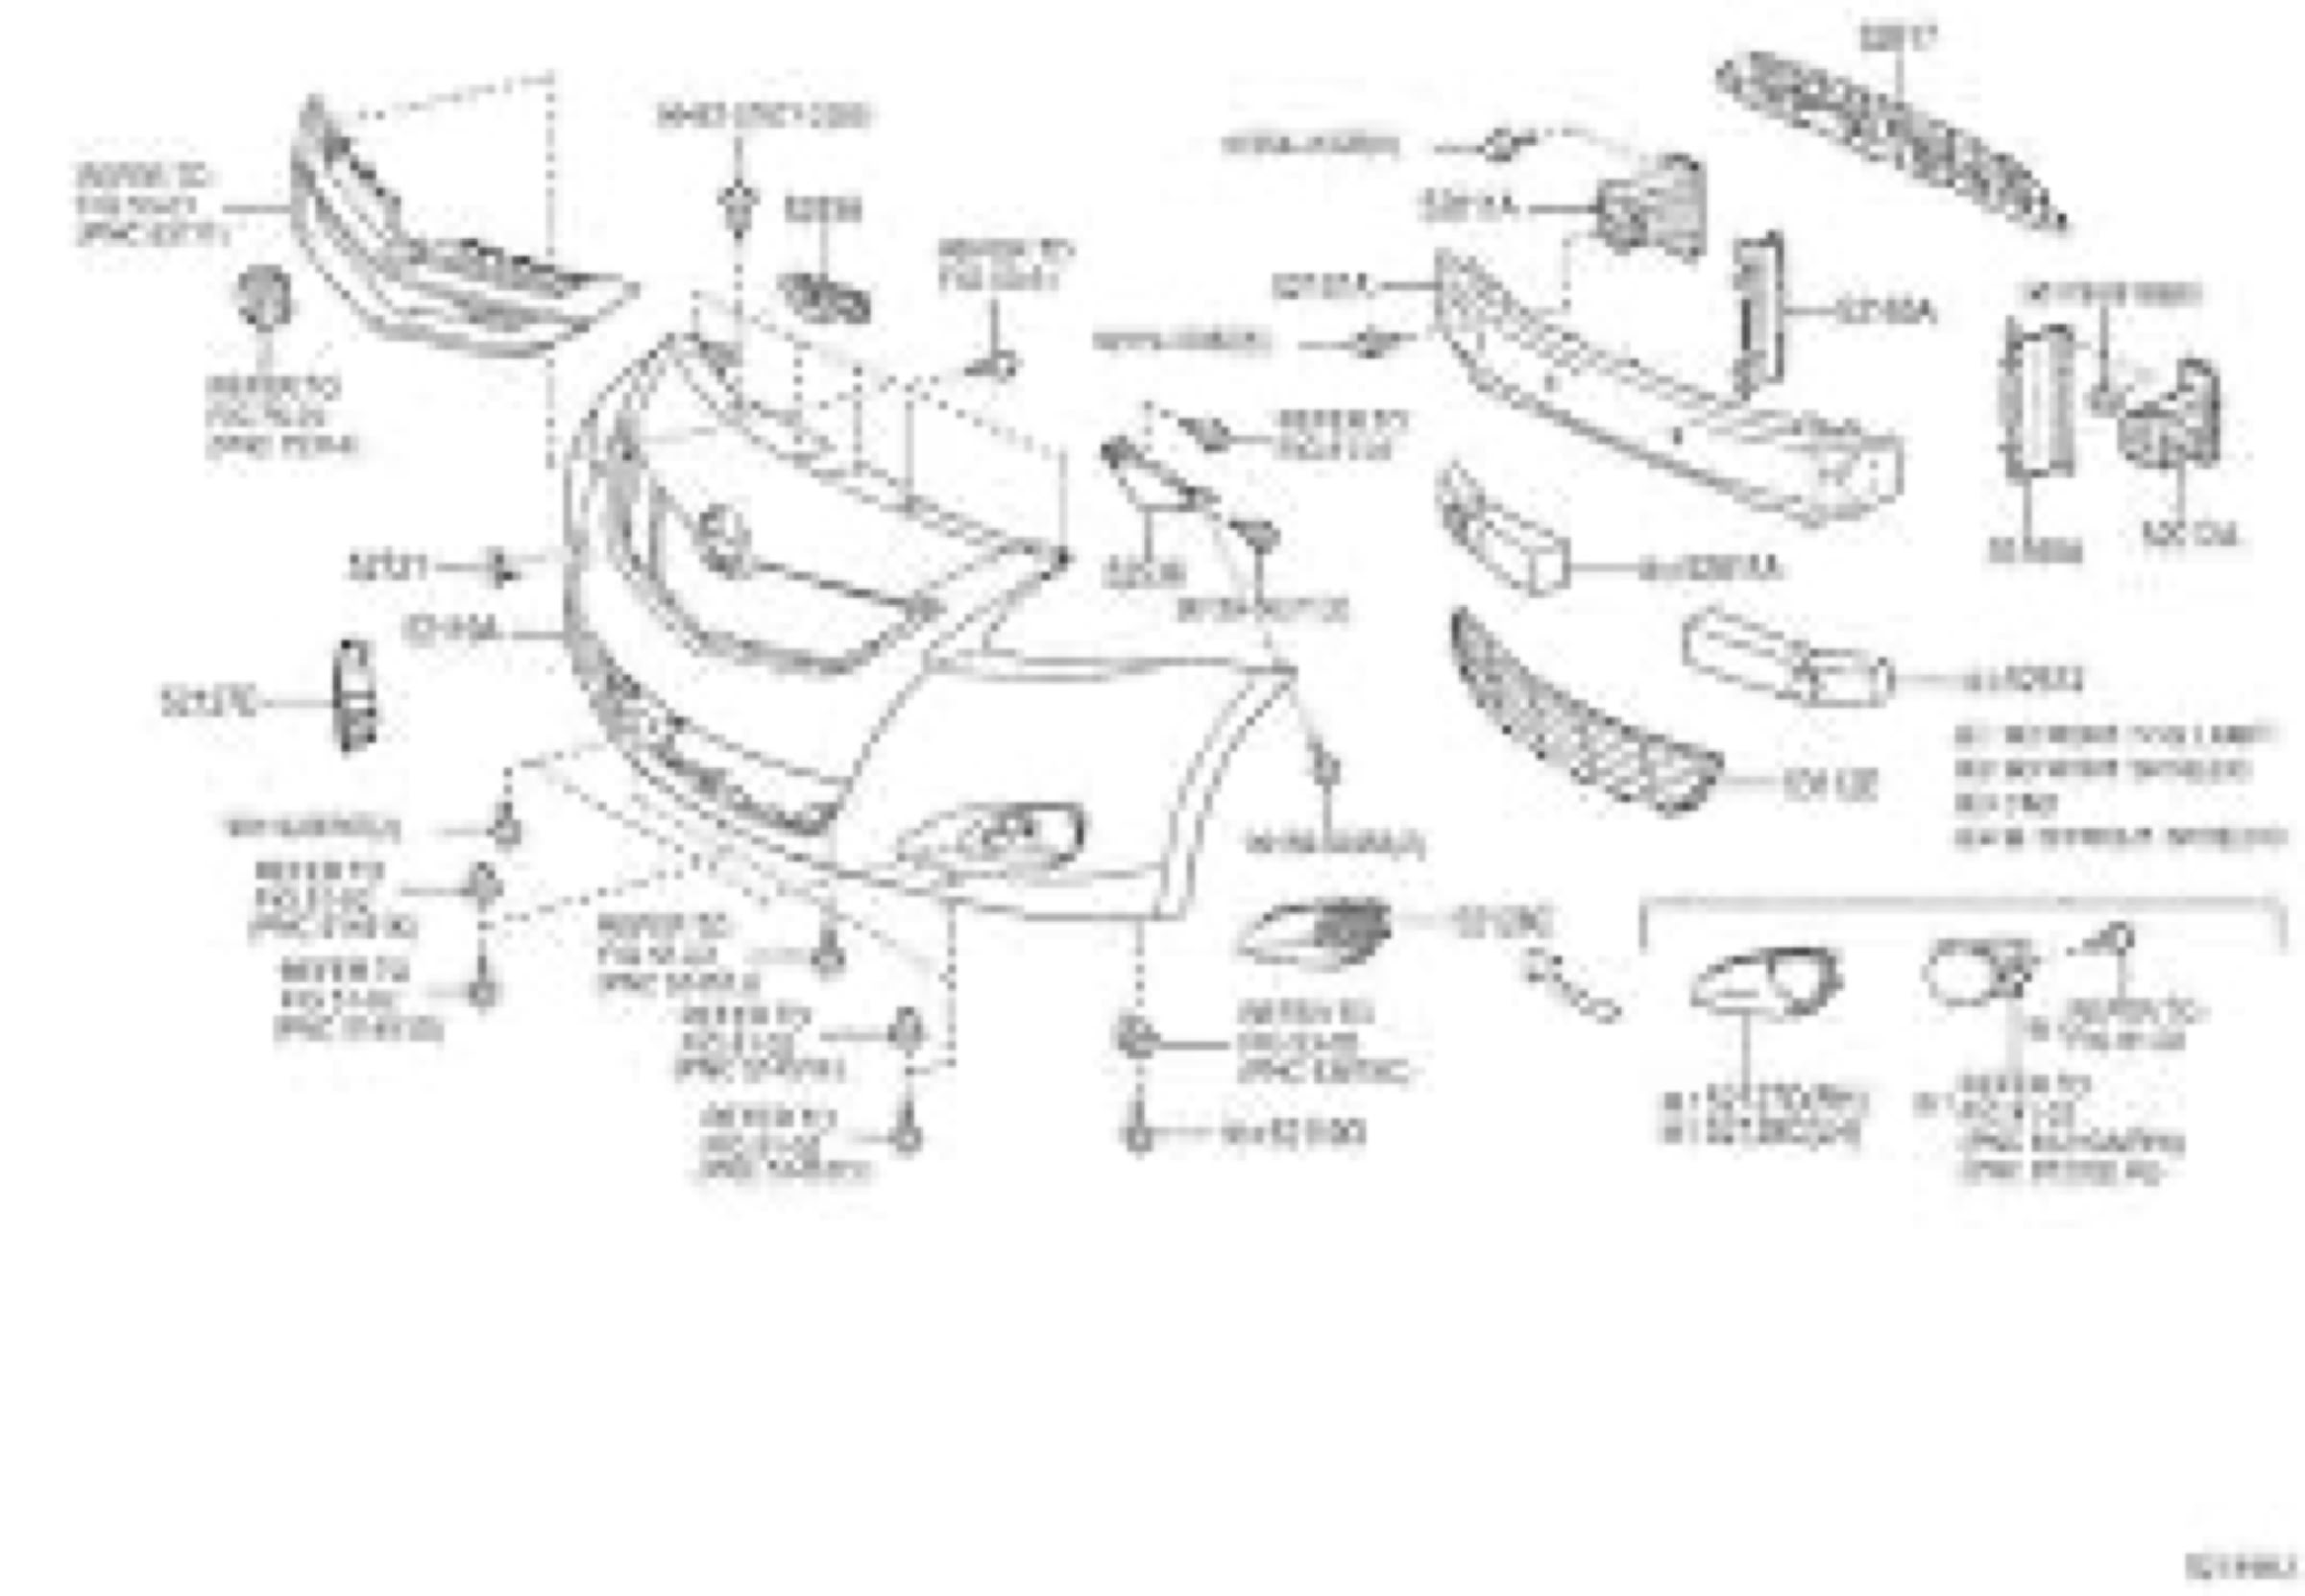
This chapter explains how to remove and replace bolted parts.
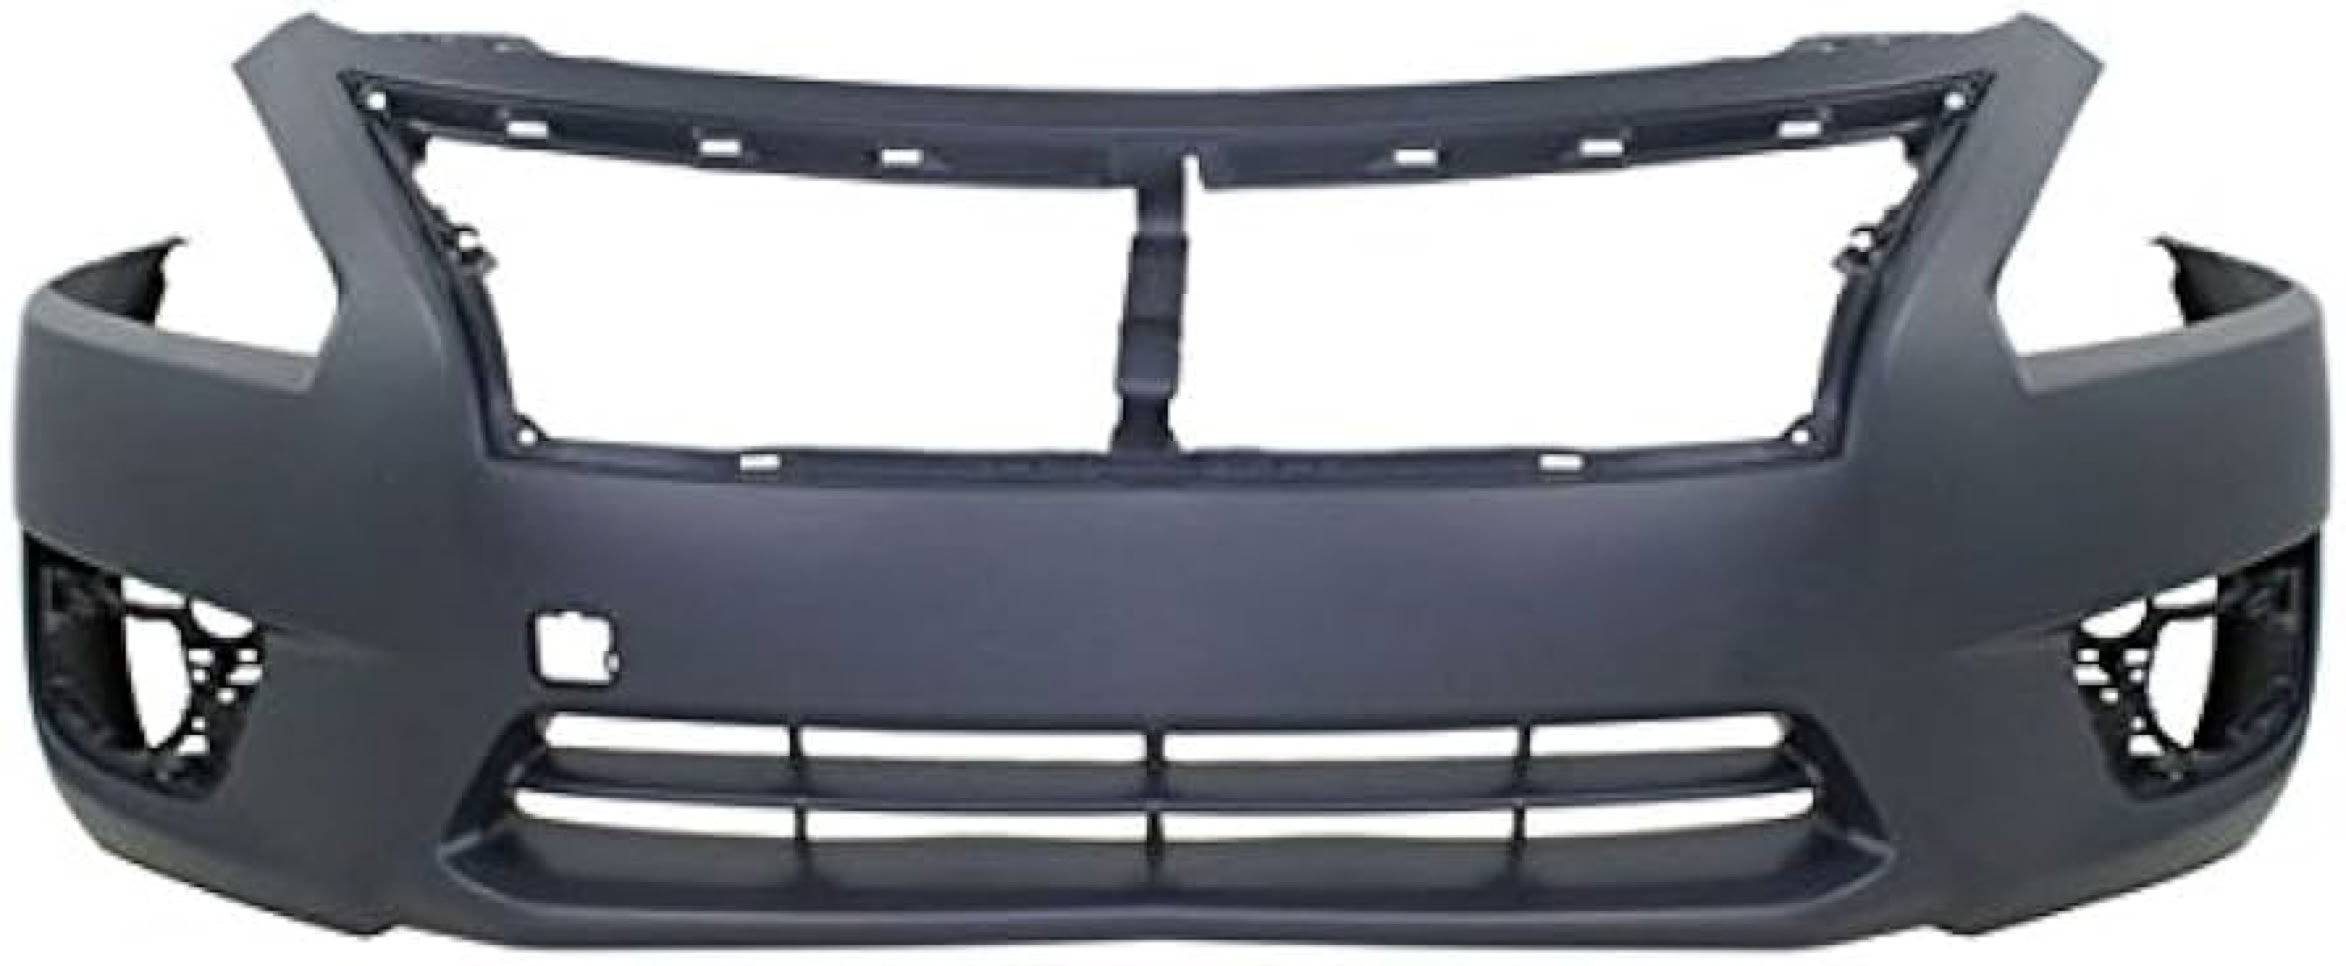
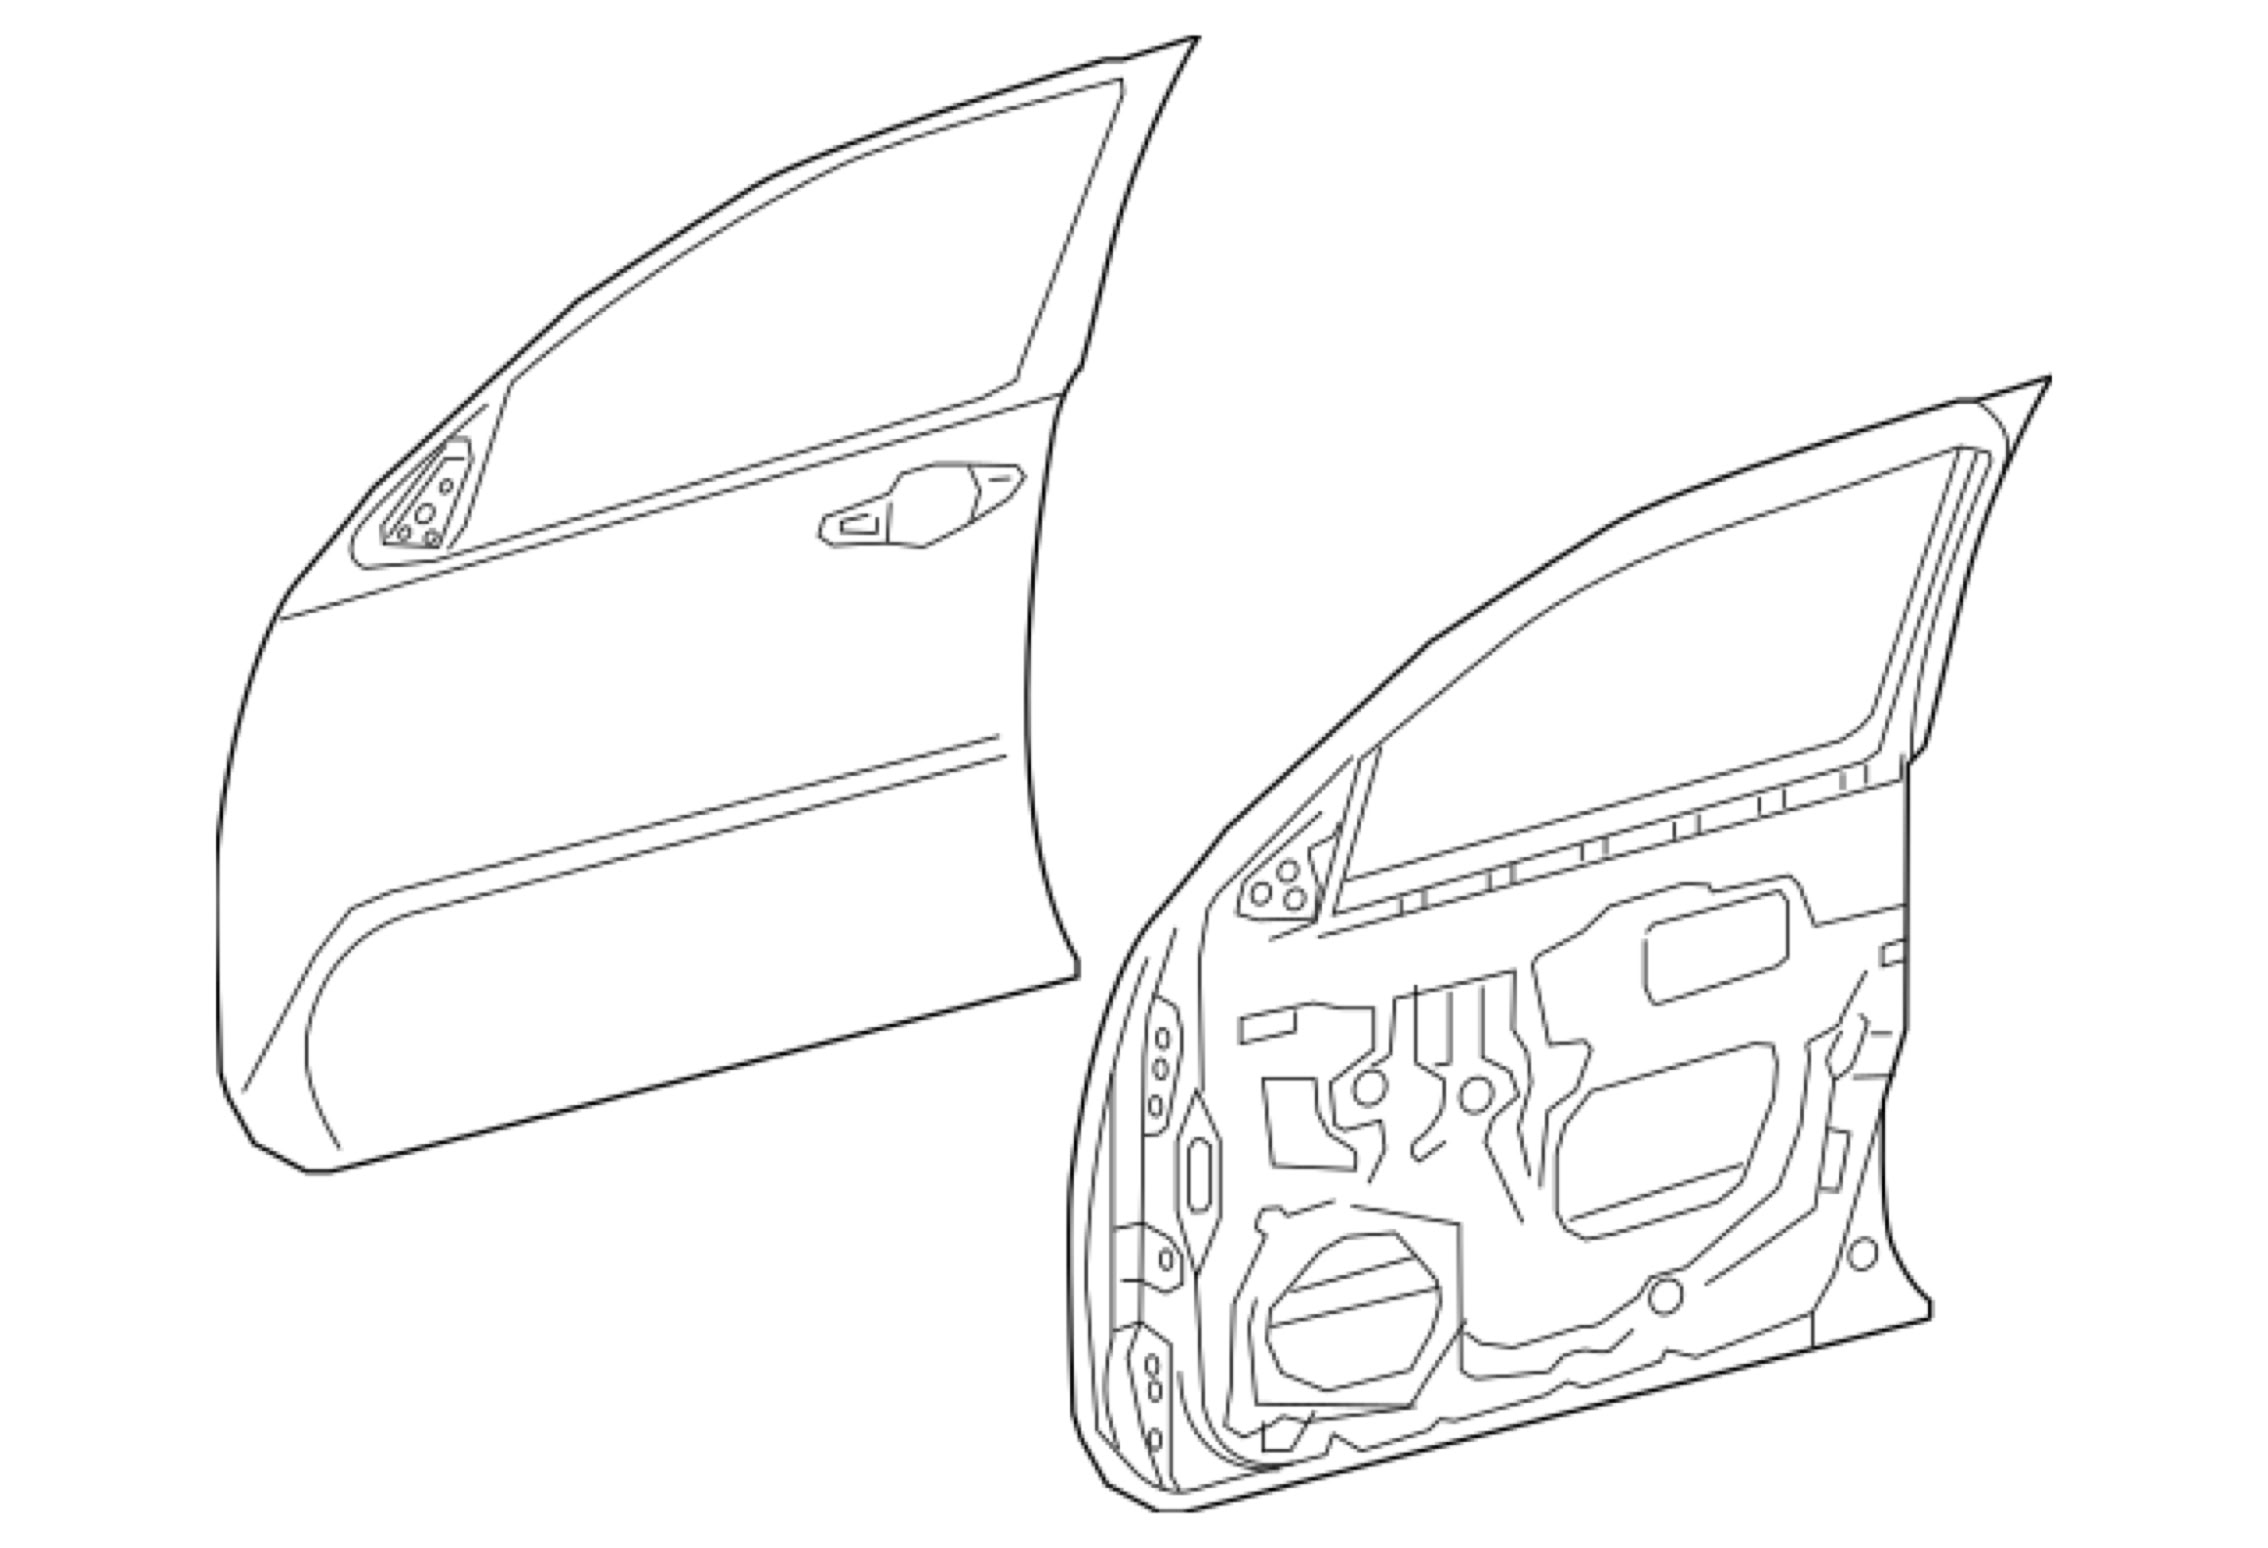
Bolted parts include bumpers, fenders, hoods, doors, and deck lids.
The chapter begins by discussing the sources of replacement parts.
After part sources are discussed, the basic steps in bolted part replacement are explained.
Finally, the procedures for replacing specific bolted parts are detailed.
Part Sources
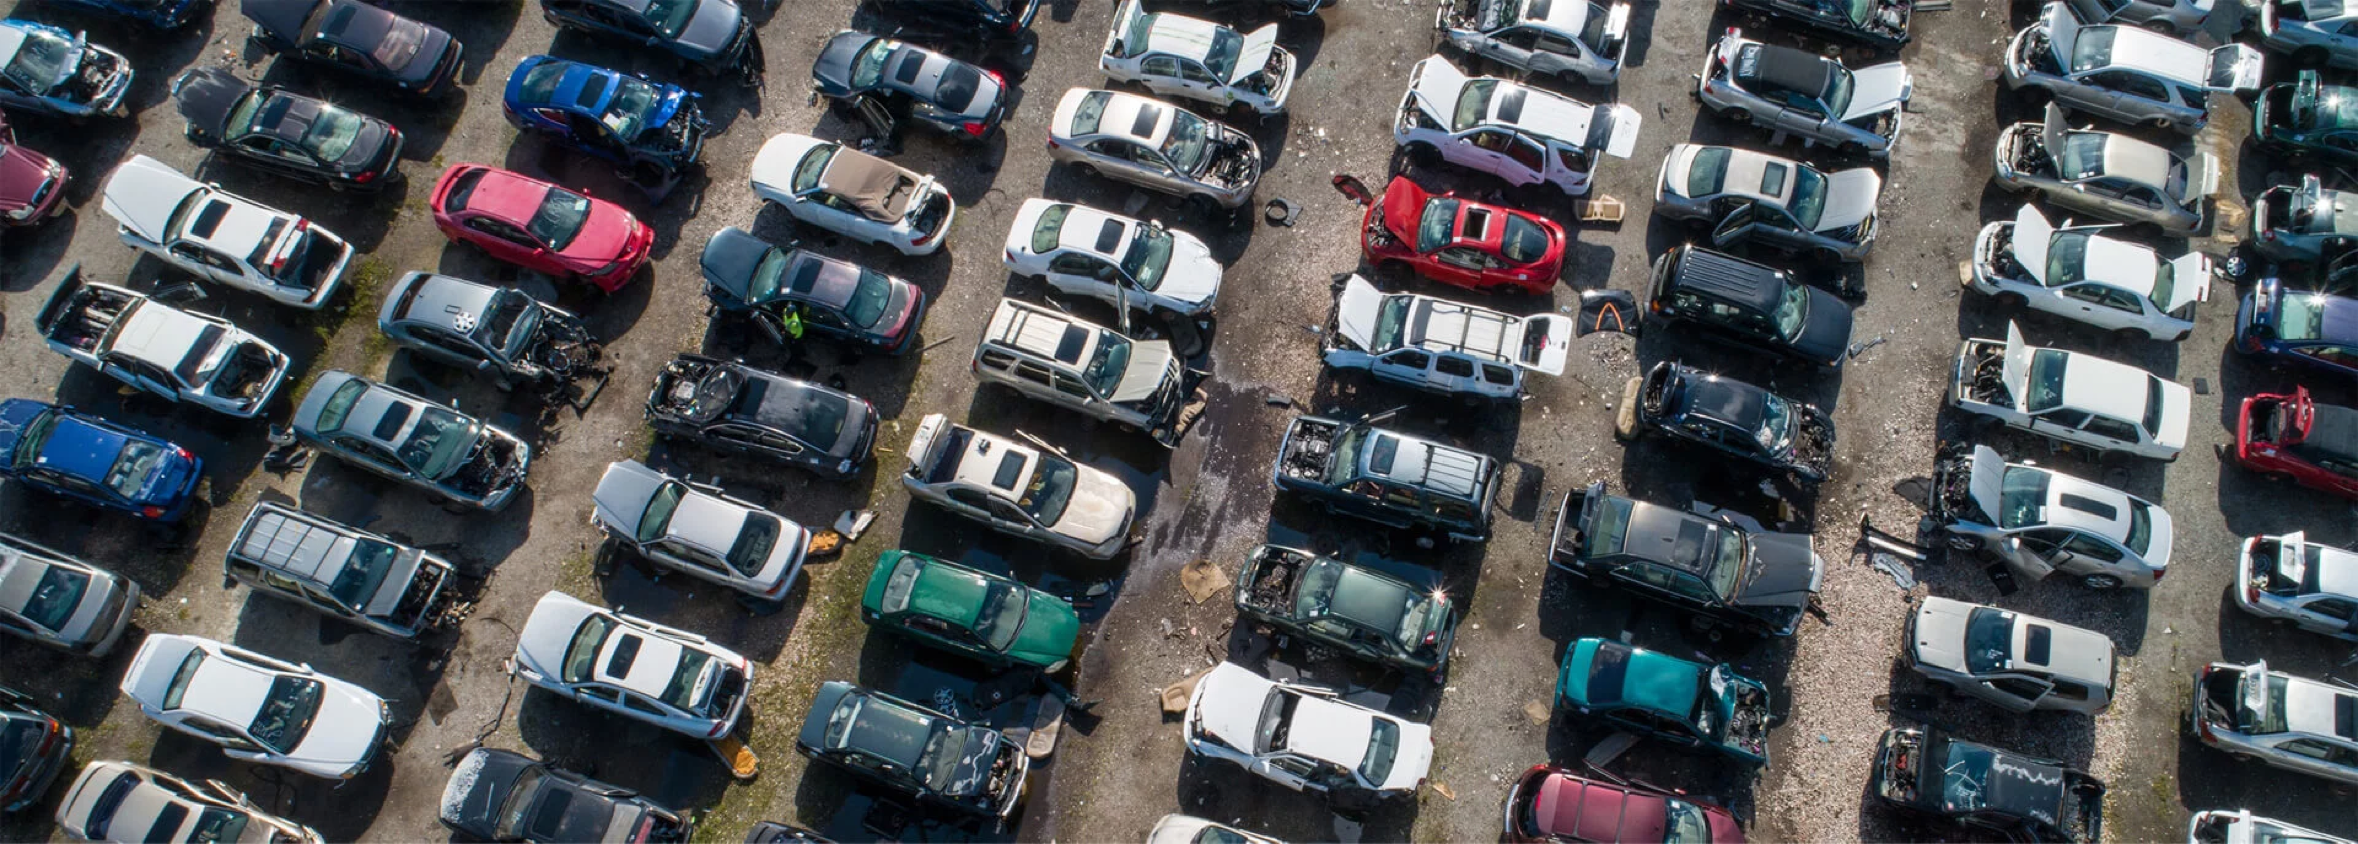
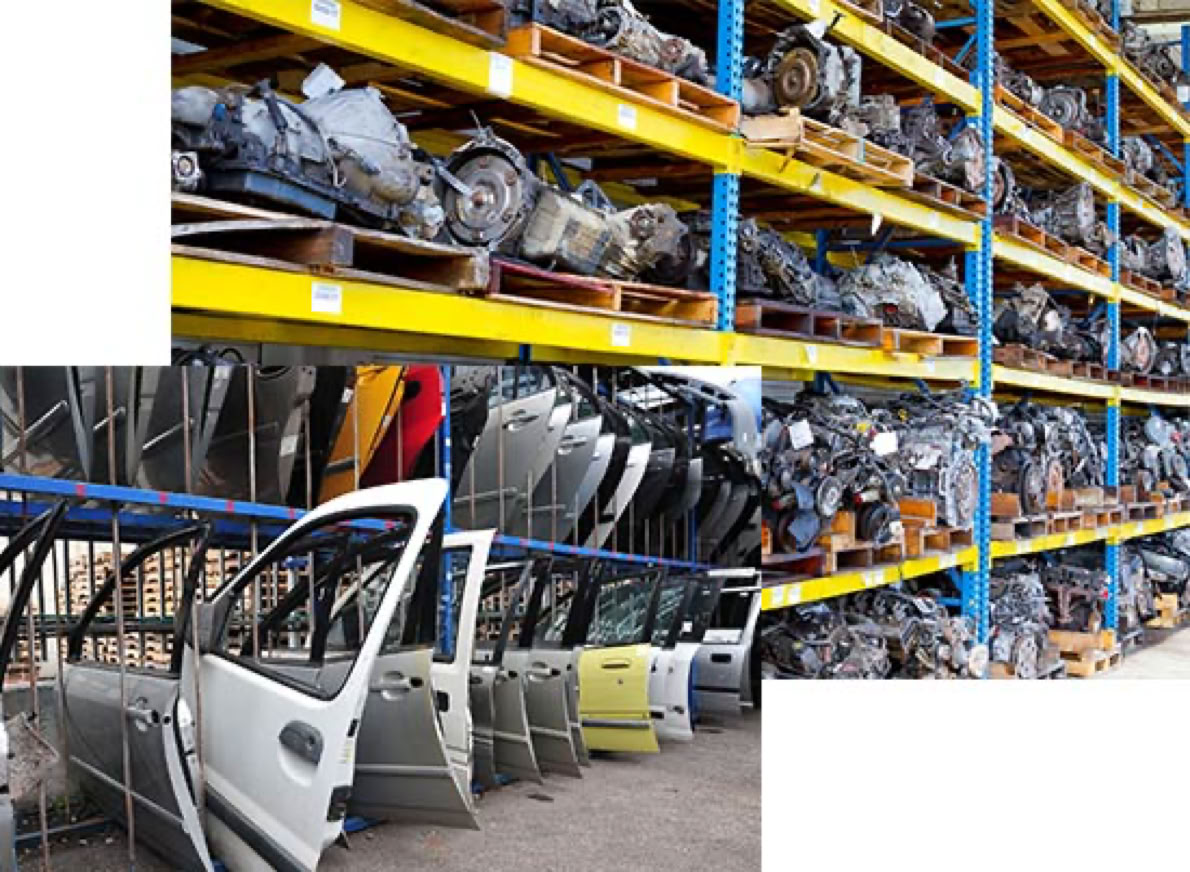
Replacement bolted parts can be obtained from three sources: original equipment manufacturers, salvaged vehicles, and aftermarket suppliers.
The source used depends on availability, the age of the vehicle, and the customers' desires.
Availability is a key issue when deciding on a part source.
Replacement parts must be obtained in a reasonable amount of time.
A damaged vehicle may sit for days or weeks waiting for parts.
This wait is inconvenient for the customer.
The age of the vehicle is another factor in the choice of parts.
An older vehicle, which is worth less money than a newer vehicle, is often repaired with the cheapest parts available.
However, a customer may insist on high-quality parts to repair an older vehicle.
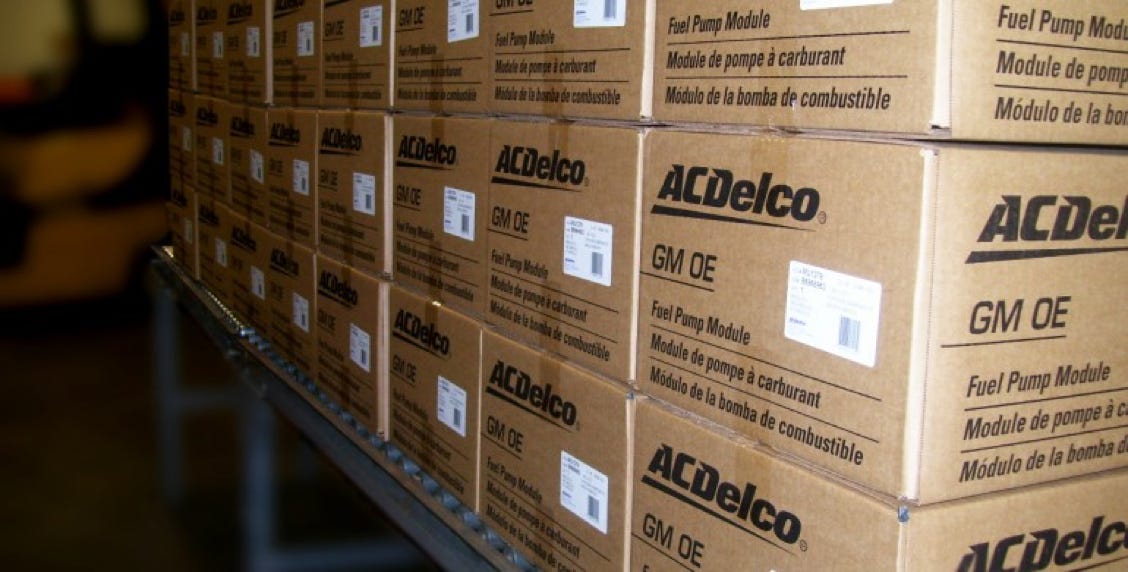
OEM Parts
The letters OEM stand for original equipment manufacturer.
OEM parts are replacement parts made by the same company that made the parts installed on the vehicle when it was assembled.
All replacement parts for late-model vehicles (10 years old or newer) are available as OEM parts.
In rare cases, there may be a wait for OEM parts.
This usually involves parts for a high-volume, currently produced model, because these parts are also needed for installation on vehicles at the factory.
This also may be an issue on limited production vehicles, because there is little demand for these parts and they are not stocked.
OEM parts are obtained from a new car dealership.
The dealership may or may not stock collision parts.
If the parts are not in stock, the dealership can often order them from a central warehouse.
Many times, the ordered parts will be delivered the next business day.
However, some dealerships may only order collision parts once a week, resulting in a longer wait for the collision repair shop.
Most shops cultivate a relationship with dealerships because the shop relies heavily on the dealership's ability to supply the required parts in a timely manner.
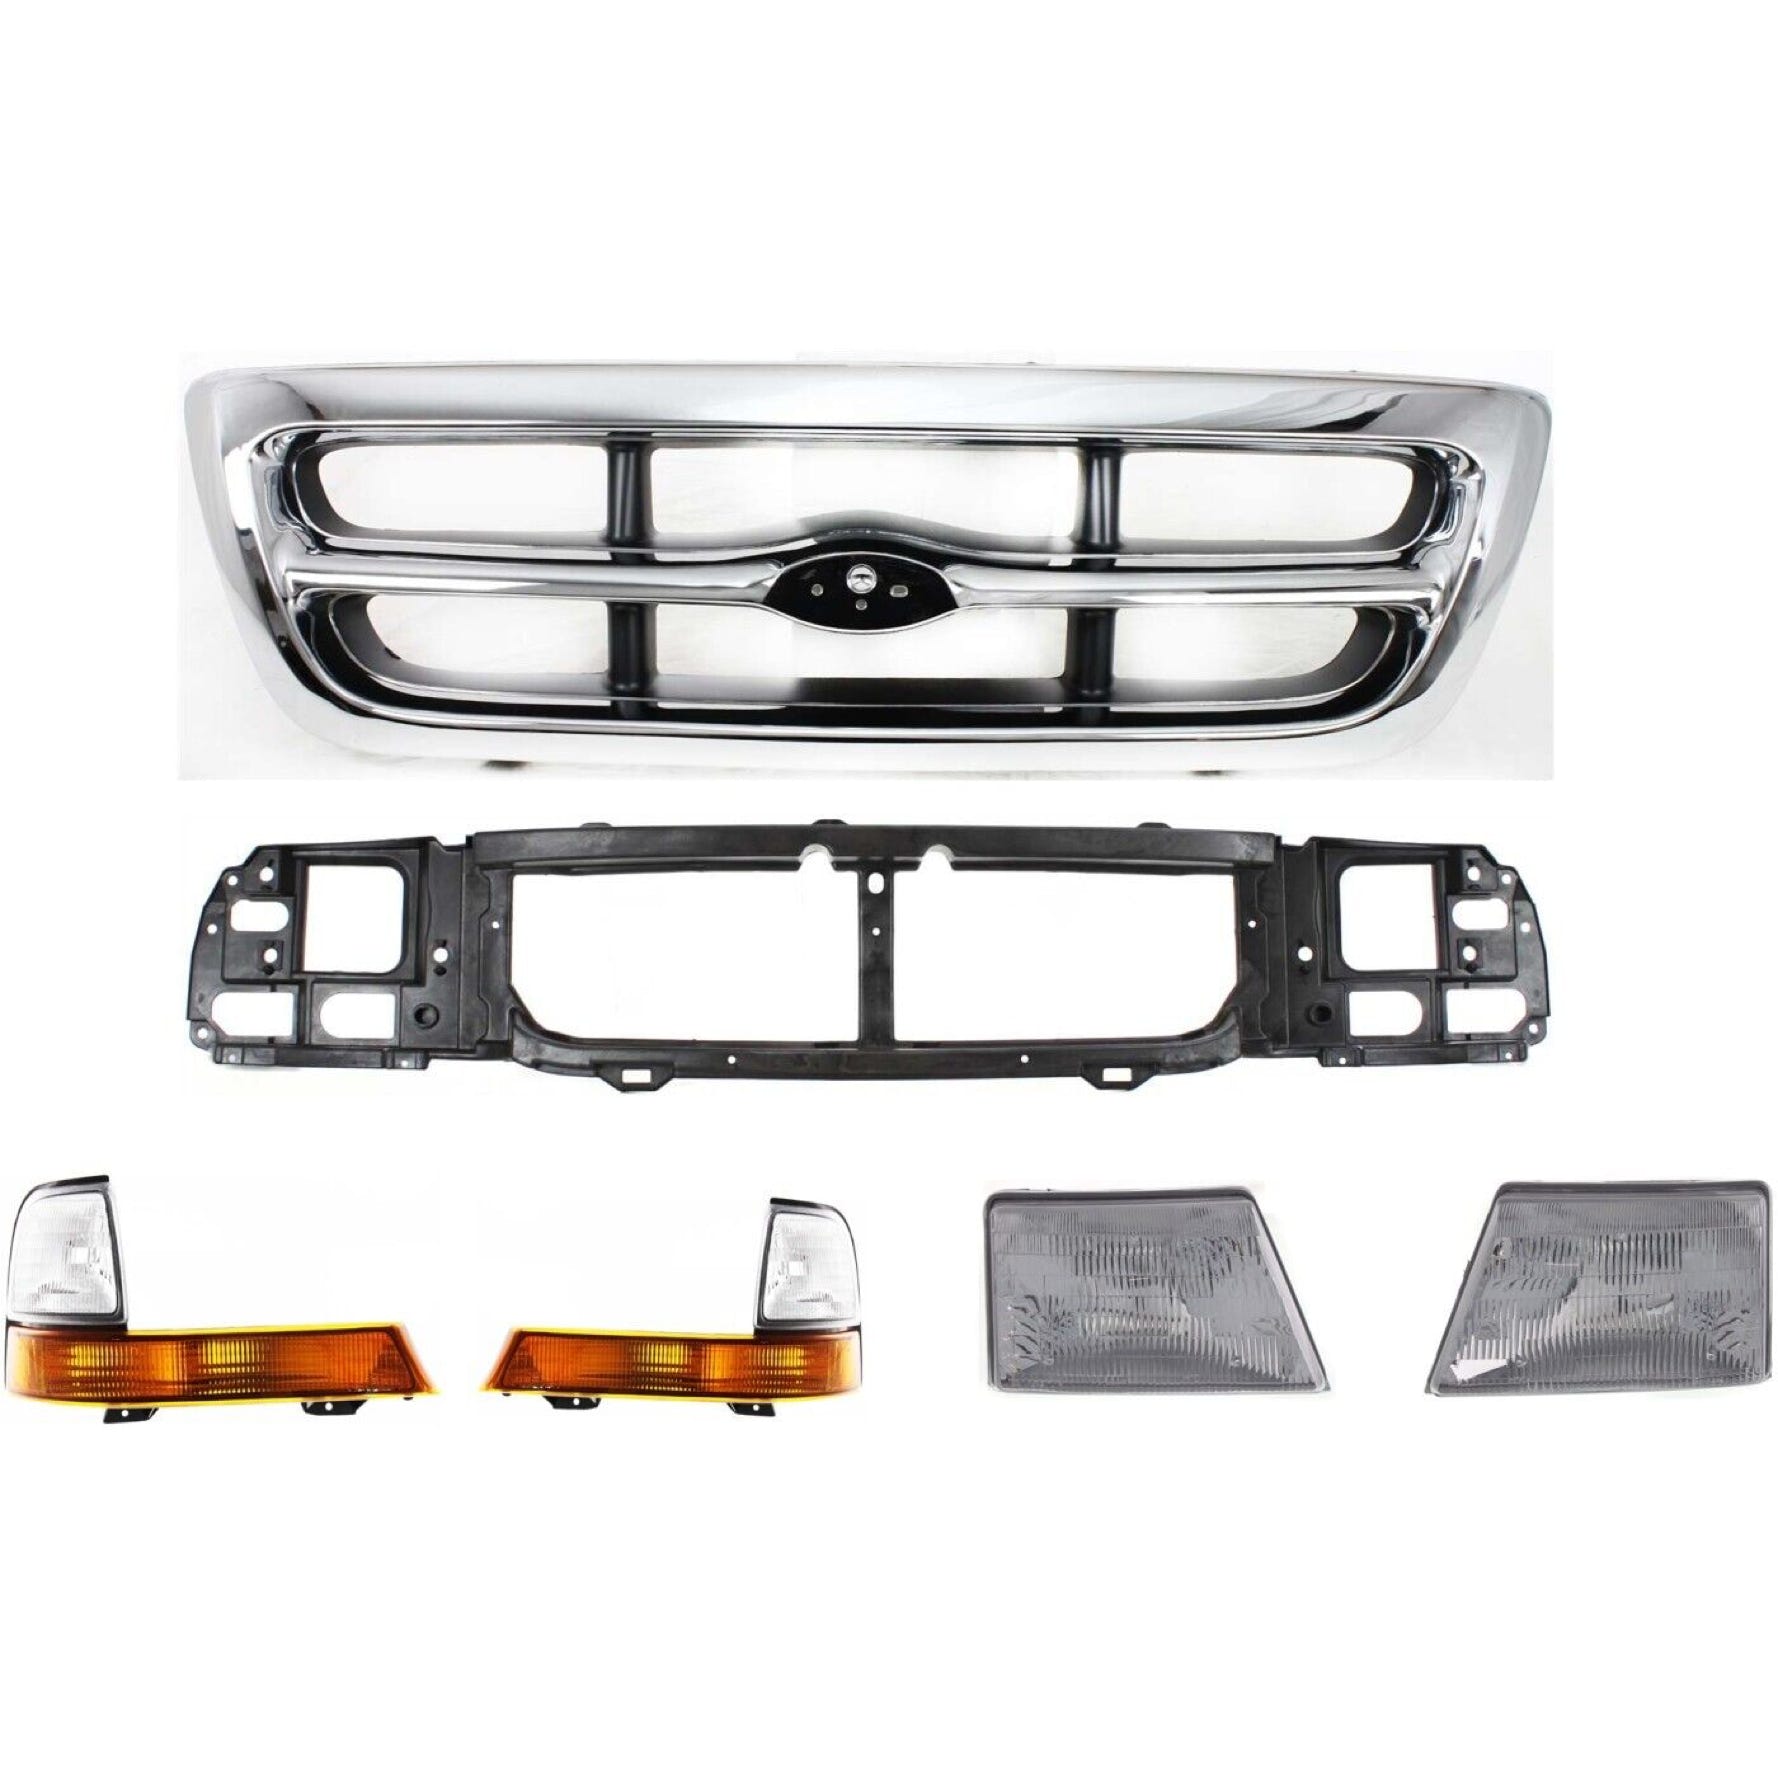
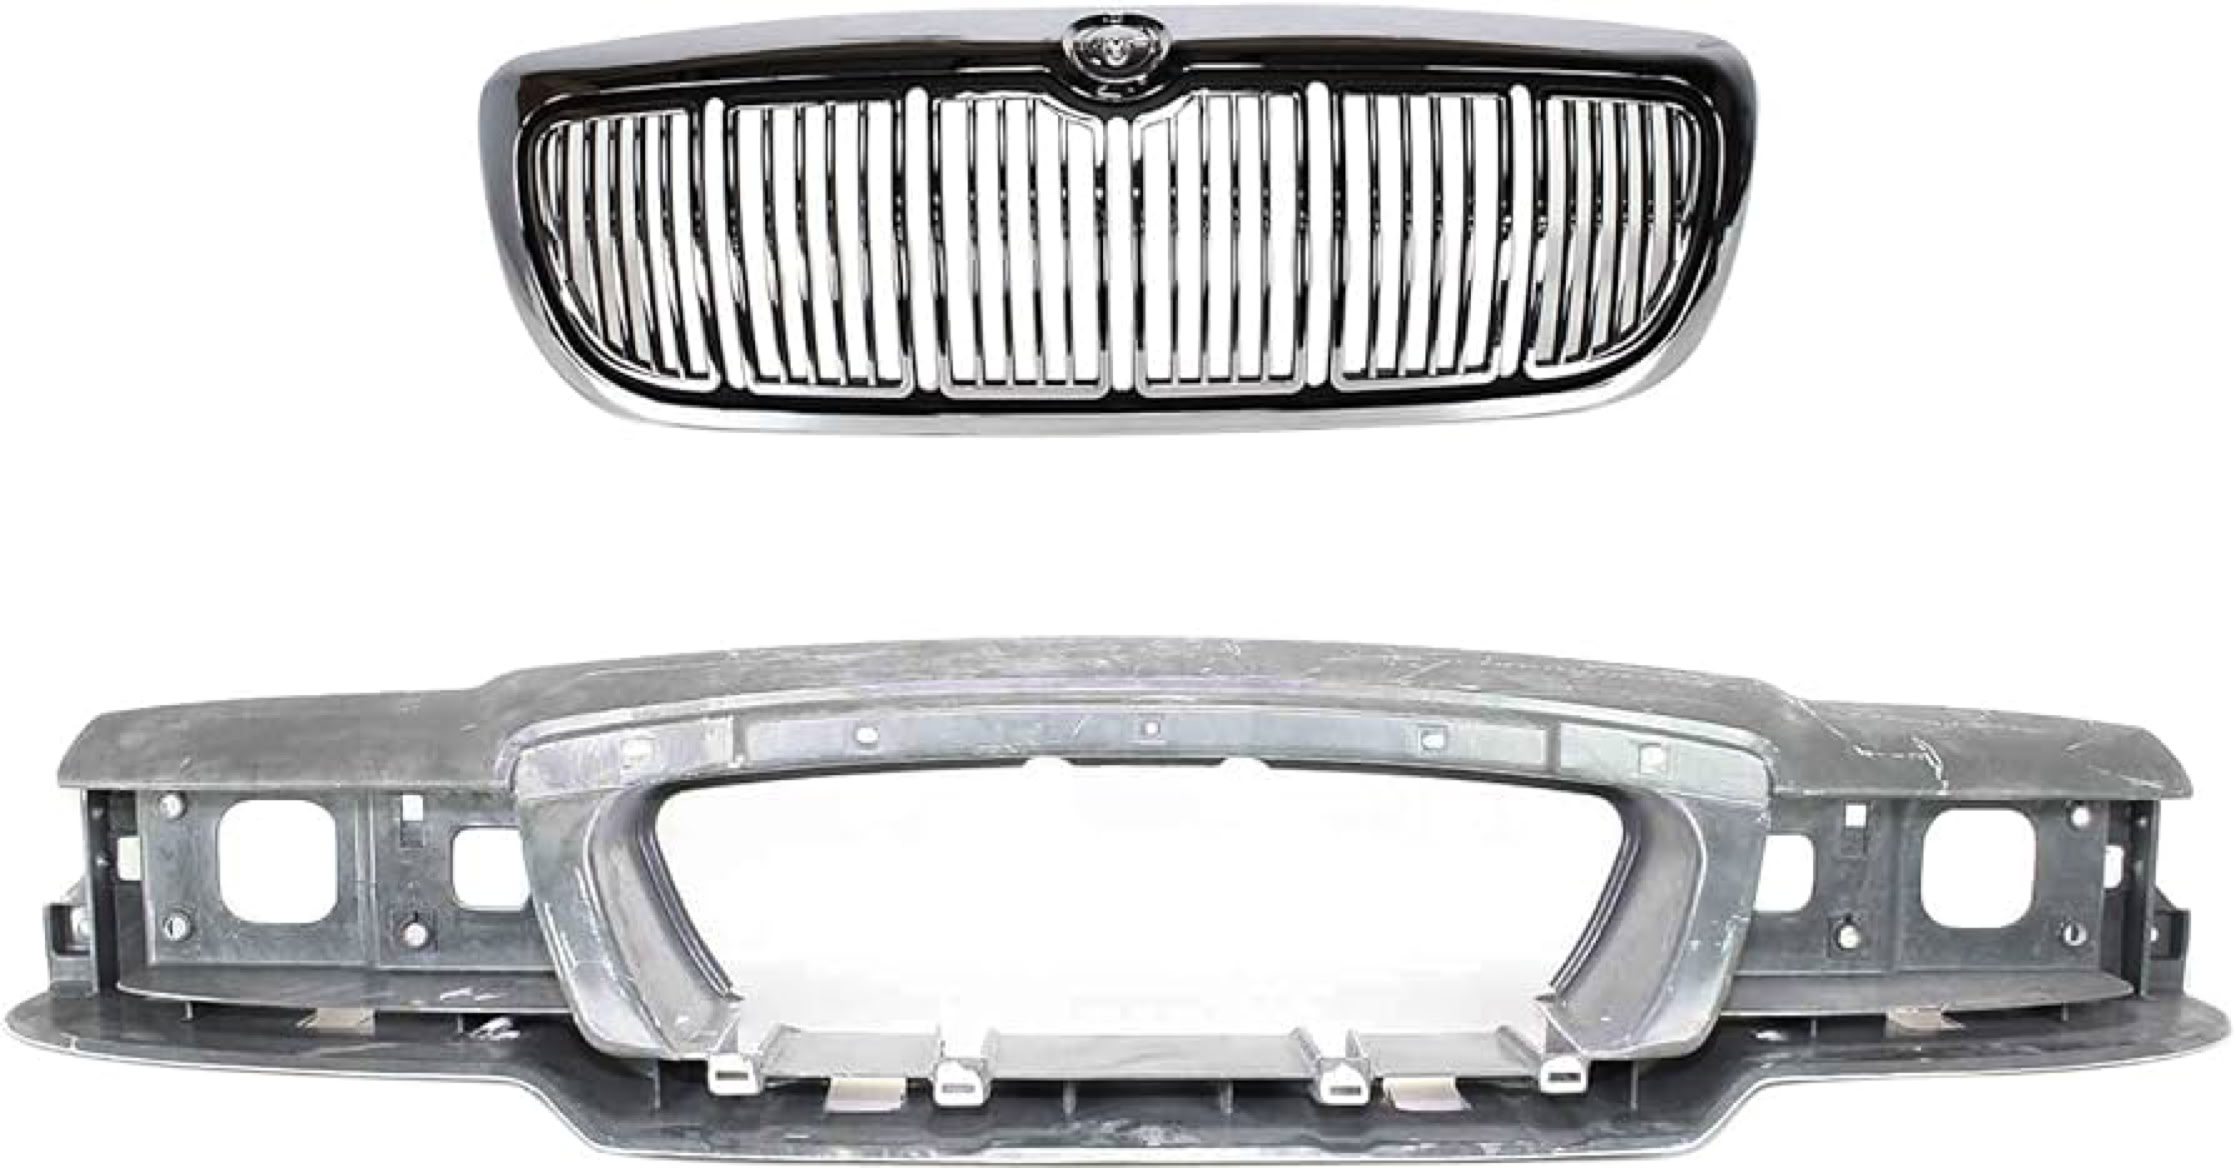
Most OEM parts are warranted against corrosion resistance. These parts are sold individually, not as assemblies.
Always check the replacement parts for damage before installation.
Chapter : 10 Bolted Non-Structural Part Replacement